

This document is useful for service and maintenance for ChooChoo and other three arm design clutches such as the Polar.
PRIMARY UNIT
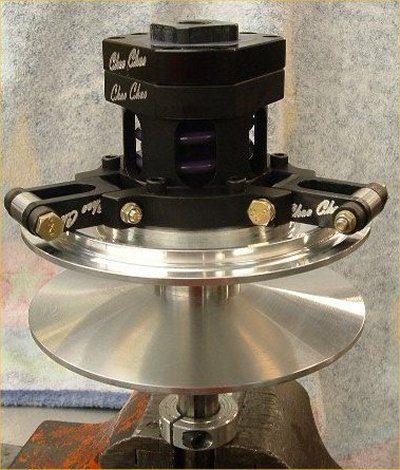
For ease of operation, an old jackshaft or crankshaft should be mounted in a steady vise.
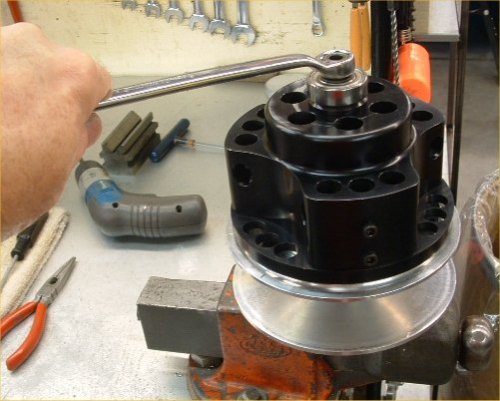
1-- Loosen the large center nut by counter clockwise rotation. For this job, a long SIX point wrench or socket should be used to avoid damage to the nut.
2-- Loosen the nut about 3/8" -- then while firmly holding the outer drum assy, strike the center nut with a soft plastic or similar hammer. Once the cover is disengaged from the center post, completely remove the nut + cover.

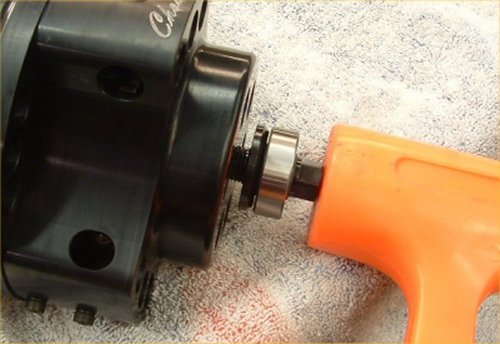
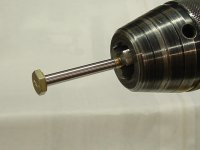
3-- Inspect the rollers for pitting and flat spots -- replace or polish if needed -- (polishing may be accomplished by simply holding the roller on a 5/16" bolt with a nut to secure, and then turning the assy in a battery drill) Polish with 180 sandpaper. Be sure to clean thoroughly to remove sanding grit.
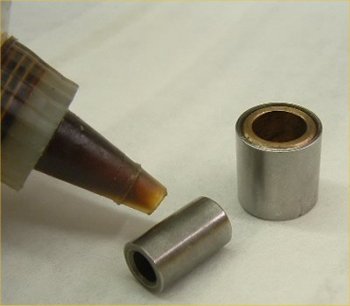
4-- Use light grease between the inner race and the outer roller when reassembling (never run dry) -- tighten the bolt so as to not allow any rotation of the bolt (rotation of the bolt will cause arm damage) -- do not over tighten the bolt.
 |
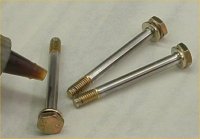 |
5-- Remove the lower arm bolt -- inspect for pitting or grooving -- polish if needed in a battery drill -- clean and coat the bolt with light grease -- reinstall and tighten just enough so the bolt cannot turn (rotating bolts will damage the holes in the spring carrier)
Note-- the bolts in the top and bottom of the arms should never be allowed to rotate -- the design calls for the arms to rotate on the bolts -- if the steel bolts rotate, they will wear the holes in the aluminum arm and in the aluminum springs carrier. Do not over-tighten the bolts as this can also cause damage and binding of the rollers.

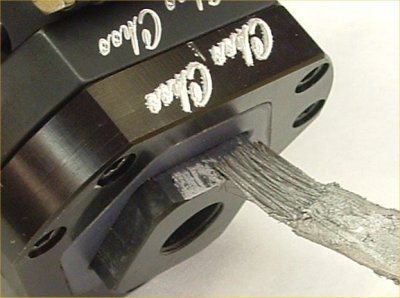
6-- Inspect the ramps -- replace if the wear is excessive in the area of the stall angle (short top angle) -- excessive wear in this area can cause the stall speed to increase and can cause belt slippage at the hit. Coat the ramp faces with light grease. Never run dry.
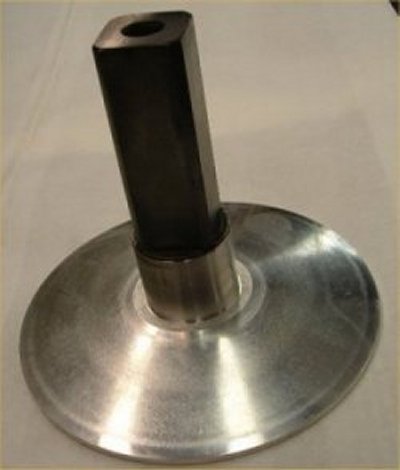
7-- Remove the post / fixed sheave assy -- clean the steel bushing and square post with solvent (lacquer thinner or acetone)
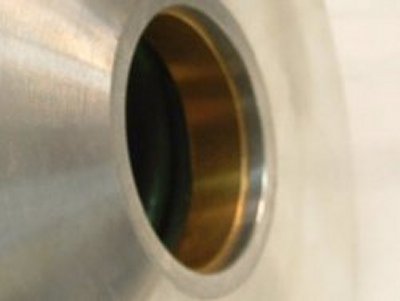
8-- Inspect + clean the bronze bushing in the moveable side of the primary (belt particles tend to collect here and must be removed). Clean the square nylon bushing in the top drive hub.
9-- Clean both of the sheave faces with solvent to remove belt material buildup.
10-- apply a light coat of anti-seize to the four sides of the square post.
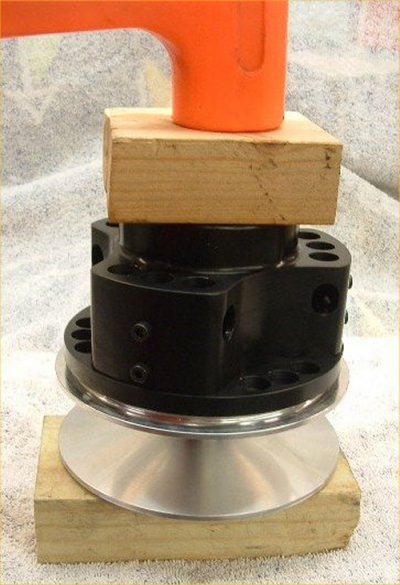
11-- Reinstall the cover assy -- be sure to install with the arms in proper alignment with the ramps (this can be inspected thru the cover venting holes) Seat the cover assy onto the square by tapping the cover with a block of wood in place (on both sides) to prevent damage.
12-- Reinstall the nut and torque to 600 in / lbs (50 ft / lbs).
___________________________________________________________
REAR DRIVEN UNIT
SECONDARY UNIT
1-- Remove the three bolts from the helix
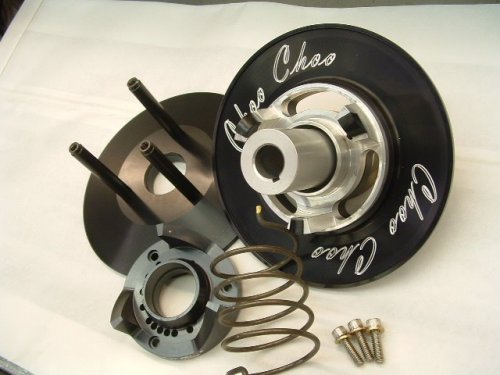
2-- Disassemble the entire unit -- inspect and clean throughout. Particular attention should be paid to the helix ramp area, both ends of the post, both bushings and the slots in the fixed side thru which the tower pins pass.
3-- Inspect the buttons and replace if the flat rubbing area is worn wider than 1/4"

4-- reassemble by inserting both ends of the spring into the appropriate holes in the button carrier and the helix and rotating the helix clockwise to apply tension on the spring.